


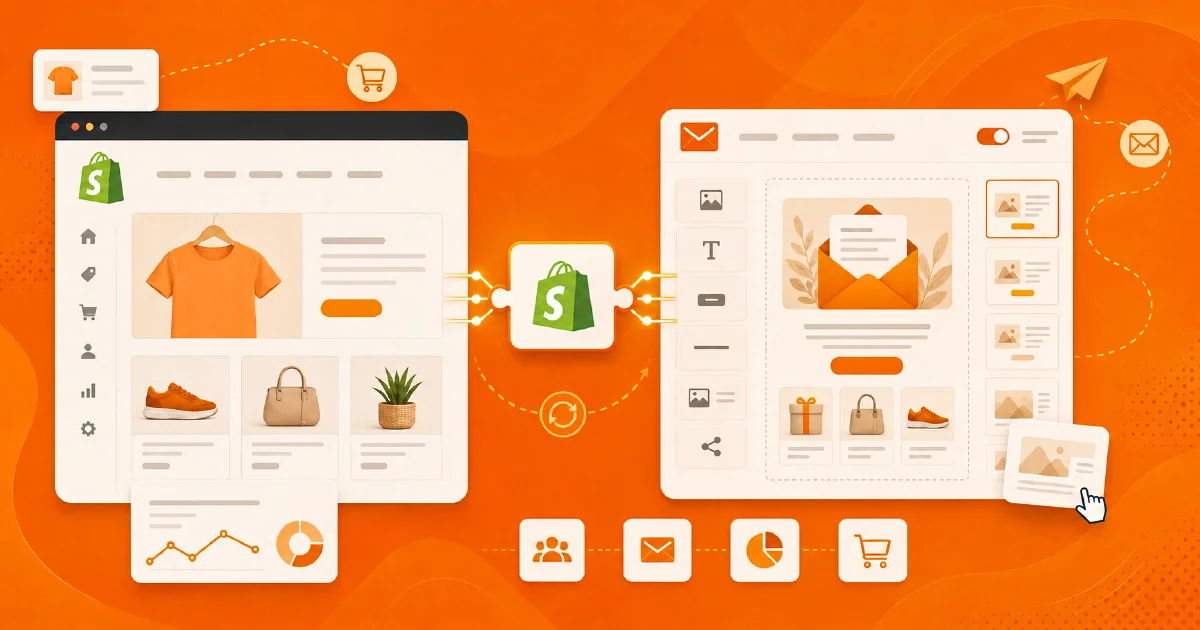
Your Shopify store wins new customers every day; but do you keep talking to them after the sale? When you connect your store to Keysletter, every order stops being a one-off transaction and becomes the start of a lasting customer relationship: your customers are listed automatically, tagged by their purchase behavior and reached with the right email at the right moment.
It may sound technical, but do not worry; the connection takes only a few minutes, requires no code and never touches your store theme. Below we will walk through every step, skipping nothing. Here is what you gain once connected:
Customers auto-listed
Everyone who places an order joins your list automatically; you never download a spreadsheet.
Post-sale automation
Thank-you and repeat-purchase emails go out by themselves after every sale.
Abandoned carts
Shoppers who leave checkout get a gentle reminder; exclusive to the Shopify connection.
Automatic tagging
Customers are tagged by the products they buy, so building segments takes seconds.
Before You Start
Make sure you have the following at hand:
- A Shopify store you can access as an administrator.
- A Keysletter account with the E-Commerce feature enabled. The e-commerce integration is available on Plus and higher plans; you can compare plans on our pricing page.
The logic of the connection is simple and takes three steps: first we will get a private access key (Access Token) from Shopify, then we will connect your store to Keysletter with that key, and finally we will add an instruction (webhook) telling your store to notify Keysletter about order and checkout events. Let us do them in order.
Step 1: Get an Access Token from Shopify
The Access Token is how your store tells Keysletter "I trust this application". Shopify asks you to create a small app definition specific to your store for this; do not let the name mislead you, there is nothing to develop, just a few clicks:
- Log in to your Shopify admin panel.
- Follow Settings → Apps and sales channels → Develop apps. If this is your first time here, Shopify asks you to allow custom app development; confirm it.
- Click Create an app and give it a memorable name, for example "Keysletter".
- On the Configuration tab, edit the Admin API access scopes: enable the order reading permission (
read_orders) and save. - Switch to the API credentials tab and click Install app.
- In the Admin API access token section, click the reveal link and copy the value that starts with
shpat_.
Copy the Access Token immediately. For security reasons Shopify shows this value only once. If you leave the page, you cannot see it again and will have to create a new token. Paste the copied value somewhere safe, such as a note file.
Step 2: Connect Your Store in Keysletter
Your key is ready; now let us switch to the Keysletter side:
- Log in to your Keysletter panel and open the E-Commerce section from the left menu.
- Find the Shopify form on the page and fill in the two fields:
- Shop URL: Your store's myshopify.com address, for example
https://yourstore.myshopify.com - Access Token: The
shpat_...value you copied in step 1.
- Shop URL: Your store's myshopify.com address, for example
- Leave Auto-sync customers and Auto-tag orders checked; these two are where the real power of the integration lives.
- Press Connect.
Keysletter actually tries to reach your store with the details you entered; if everything is correct, you will see a "Store connected" message. As soon as the connection is made, the system also imports the last 30 days of orders, so your dashboard is populated from the first second.
Rest easy: this initial import of past orders never triggers any automation. No email goes out to your old customers out of the blue; automations only run for new orders and carts created after the connection.
Along with the connection, a unique Webhook URL appears on the screen (it looks like a long web address; click it to copy). Copy this address; we will paste it into Shopify in the next step.
Step 3: Add the Webhooks in Shopify
A webhook is a small instruction you add to your store: "whenever an order or checkout event happens, notify Keysletter instantly." Thanks to this bridge, your orders and abandoned carts flow in real time. To add it:
- Return to your Shopify admin panel.
- Scroll down to Settings → Notifications → Webhooks.
- Click Create webhook and fill in the form:
- Event: Order creation
- Format: JSON
- URL: The Webhook URL you copied in step 2
- Save, then repeat the same process twice more: create one webhook for the Order payment event and one for the Checkout update event. All three use the JSON format and the same Webhook URL.
Here is how the three webhooks divide the work: Order creation delivers new orders instantly, Order payment completes orders that are paid later, and Checkout update catches abandoned carts. Congratulations, the connection is complete!
Test That Everything Works
Take a few minutes to make sure everything is in place:
- Press the Test Connection button on Keysletter's E-Commerce page; your store's name should appear on the screen.
- Create a small test order in your store (or wait for the first real one) and check that it appears in the Recent Orders table within a few minutes.
If the order shows up in the list, your bridge is working. If not, see the troubleshooting section below.
Win Back Abandoned Carts
Industry research shows that roughly seventy percent of online shopping carts are abandoned without a completed purchase. That means customers turning away from your door every single day, and it is exactly where the easiest revenue in e-commerce waits to be recovered.
Once your connection is live, build an automation in the Automations section with the When cart is abandoned trigger: when a customer leaves checkout unfinished, your reminder email goes out automatically. A gentle nudge is often all it takes to complete the sale.
The system is thoughtful here: if the customer completes the purchase before the reminder goes out, the pending reminder is cancelled automatically. A customer who has already paid never receives a "you forgot your cart" email, so your customer experience stays intact.
Abandoned cart automation works only with the Shopify connection; WooCommerce does not send checkout notifications, so the feature is not available there. Abandoned carts also appear in the Abandoned Carts counter on your E-Commerce dashboard.
Take Security One Step Further (Optional)
If you want to harden the connection further, you can enable webhook signature verification. It uses a signature to confirm that every notification arriving at Keysletter genuinely comes from your store:
- After creating your webhooks, return to the Settings → Notifications page in Shopify; right below the webhook list you will find your store's signing secret, copy it.
- Enter it in the Webhook signing secret field of the Shopify connection form in Keysletter. Since the field lives on the connection form, to add it to an existing connection press Disconnect first, reconnect your store with the signing secret included, and update the three webhooks in Shopify with the newly generated Webhook URL.
This field is entirely optional; if you leave it empty, your connection still works safely over a private address unique to your store.
Stuck? Common Issues
If something does not work as expected, do not panic; almost every problem has a simple cause:
- I get a connection verification error: Check the store address (it should be your myshopify.com address starting with
https://), make sure you copied the token completely and that your app has the order reading permission (read_orders). - Orders do not arrive in Keysletter: Verify that all three webhooks are in place, the format is JSON and the address is the correct Webhook URL.
- Abandoned cart emails do not go out: Check that the Checkout update webhook exists and that you have an active automation with the "When cart is abandoned" trigger in the Automations section.
Careful if you disconnected and reconnected: Reconnecting generates a new Webhook URL for you. Do not forget to update the address of all three webhooks in Shopify with the new URL; otherwise notifications go to the old address and orders stop arriving.
What Happens After You Connect?
Once the connection is complete, Keysletter quietly starts working for you:
- Customers who place orders are added to your automatically created E-commerce Customers list.
- Your customers are tagged automatically: product tags based on what they bought, and a separate tag for cart abandoners. With these tags you can build segments in seconds; for example, a special campaign for buyers of a specific product.
- Your E-Commerce dashboard shows Total Orders, Total Revenue, the last 30 days and Abandoned Carts at a glance.
- With the When purchase is made trigger you can build thank-you and repeat-purchase automations. The system processes each order only once; no duplicate emails go out for the same order.
One reminder: your consent obligations continue when you send marketing emails to existing customers. We recommend reading our guide on consent-compliant email marketing.
Is your store on WooCommerce instead? No worries; our WooCommerce connection guide, written in the same style, is waiting for you.
Frequently Asked Questions
Do I need to install an app from the Shopify App Store?
No. Nothing is added to your store's code or theme, and no app is installed from the App Store. You create a private access definition for your store from Shopify's own panel; your store's speed and appearance are not affected.
Will my old customers receive emails when I connect?
No. The initial sync imports the last 30 days of orders as records only; automations are never triggered for past orders. Automated emails run only for new orders and carts created after the connection.
Does abandoned cart automation work with WooCommerce too?
No, this feature works only with the Shopify connection; WooCommerce does not send checkout notifications. All order-based automations (thank-you, repeat purchase, segmentation) work perfectly with WooCommerce.
I lost my Access Token, what should I do?
Shopify shows the token only once. Create a new token from your app's API credentials page. To update it in Keysletter, press Disconnect and reconnect your store with the new token. Reconnecting generates a new Webhook URL; remember to update the address of the three webhooks in Shopify with the new URL.
Which plans include the e-commerce integration?
The Shopify and WooCommerce integration is available on Plus and higher plans. You can find the plan comparison on our pricing page.
Ready to Start?
Connecting your Shopify store may be the last technical step you ever take; the rest is pure marketing. Complete the three steps in order, watch the first order land in Keysletter and build your first automation. When you see abandoned carts coming back, this few-minute setup will have paid for itself many times over.