


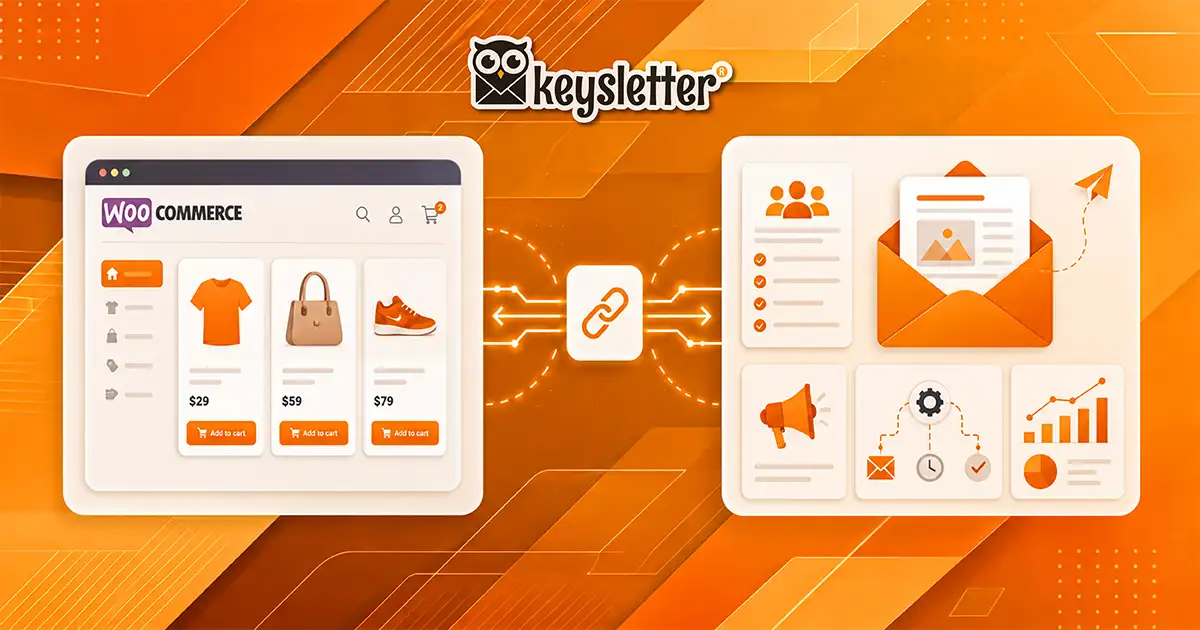
Every order in your store is really the start of a customer relationship. When you connect your WooCommerce store to Keysletter, you turn those relationships into email marketing without any manual work: your customers are listed automatically, segmented by their purchases, and receive the right email at the right moment.
It might sound technical, but do not worry — connecting takes just a few minutes and requires no coding. We will walk through every step one by one, without skipping anything. If you get stuck somewhere, you can scroll back up to that step. Here is what you gain once connected:
Customers auto-listed
New customers are added to your list automatically after they order; no manual entry.
Post-sale automation
Set up thank-you and repeat-purchase series that run after every sale.
Smart segments
Group customers by their order data, for example frequent buyers.
Automatic sync
Everything syncs by itself; you never export a single spreadsheet.
Before You Start
Before you begin, make sure you have:
- A WooCommerce store you can log into as an admin. (WooCommerce is a plugin built on WordPress; if your store is running, WooCommerce is already installed.)
- A Keysletter account. If you do not have one yet, you can create it free in seconds.
The logic is simple: so that your store and Keysletter can talk to each other securely, we will first create a key, then use that key to introduce Keysletter to your store, and finally add an instruction to your store that says "when a new order comes in, notify Keysletter" (a webhook). Three steps in total — let us do them in order.
Step 1: Get Your API Keys from WooCommerce
An API key is a pair of passwords that lets your store securely tell Keysletter "this app can access me". To get one:
- Log into your WordPress dashboard (usually at
yourstore.com/wp-admin). - In the left menu, click WooCommerce → Settings.
- From the top tabs, go to Advanced, then REST API.
- Click Add key and fill in the form:
- Description: A name to help you remember, e.g. "Keysletter".
- User: Select your own admin account.
- Permissions: Be sure to select Read/Write. This is critical — if you only select "Read", the connection will not work fully.
- Click Generate API key.
You will see two values: a Consumer Key (starts with ck_) and a Consumer Secret (starts with cs_). Copy both and paste them somewhere safe, such as a notes file.
Copy the Consumer Secret right away. For security, this value is shown only on this screen, only once. If you leave the page, you will not see it again and will have to create a new key.
Step 2: Connect Your Store in Keysletter
Your keys are ready; now over to Keysletter:
- Log into your Keysletter dashboard and go to the E-commerce section in the left menu.
- Find the WooCommerce form and fill in these three fields:
- Store URL: Your store full address. It must start with
https://and have no trailing slash. Example:https://yourstore.com - Consumer Key: the
ck_...value you copied in Step 1. - Consumer Secret: the
cs_...value you copied in Step 1.
- Store URL: Your store full address. It must start with
- Click Connect.
Keysletter tries to connect to your store with the details you entered. If everything is correct, a unique Webhook URL appears on screen (it looks like a long web address). Copy this address — we will paste it into your store in the next step.
If the connection fails, the reason is almost always one of three: a typo in the store URL, a key that was not copied correctly, or permissions set to "Read" only instead of "Read/Write". Check these three and try again.
Step 3: Add the Webhook in WooCommerce
A webhook is a small instruction you add to your store: "whenever a new order is created, notify Keysletter instantly." This bridge makes orders flow in real time. To add it:
- Go back to your WordPress dashboard.
- Follow WooCommerce → Settings → Advanced → Webhooks.
- Click Add webhook and fill in the form:
- Name: A name to help you remember, e.g. "Keysletter Orders".
- Status: Select Active.
- Topic: Choose Order created from the list.
- Delivery URL: Paste the Webhook URL you copied from Keysletter in Step 2.
- Click Save webhook.
Congratulations, the connection is complete! Every new order in your store now lands in Keysletter instantly.
Test That It Works
To make sure everything is fine, you can run a small test:
- Create a small test order in your store (or wait for your first real order).
- Within a few minutes, check that this order appears in Keysletter E-commerce section.
If the order shows up in the list, your connection is working. If not, take a look at the "if you get stuck" section below.
Take Security One Step Further (Optional)
If you would like to make the connection even more secure, you can use a signing secret. This verifies that the notifications reaching Keysletter really came from your store:
- When adding the webhook, put a value of your choice in WooCommerce Secret field.
- Enter the same value in the Webhook signing secret field in Keysletter.
The value on both sides must match exactly. Tip: avoid special characters like & < > " ' in the secret; stick to plain letters and numbers.
If You Get Stuck: Common Issues
If something does not work as expected, do not panic — almost every issue has a simple cause:
- I cannot connect in Step 2: Check the store URL (does it start with
https://, is there no trailing slash?), make sure you copied the keys completely, and confirm permissions are Read/Write. - Orders are not reaching Keysletter: Verify the webhook is Active, the Topic is set to Order created, and the Delivery URL is pasted correctly.
- The webhook status keeps turning to "Disabled": WooCommerce can automatically disable a webhook after repeated failed deliveries. Open the webhook and set the status back to Active; the culprit is usually a copy-paste error in the Delivery URL.
What Happens After You Connect?
Once connected, Keysletter starts syncing your store orders. From then on:
- Customers who order are added to your list (within their consent).
- You can build automations based on purchase behavior — for example a thank-you series after the first order.
- You can segment customers by spend or order count.
A single connection turns your store from a quiet order source into a personalized email marketing engine.
A quick note: the abandoned cart automation does not work with WooCommerce, because WooCommerce does not send checkout notifications to the outside. That feature is available on Shopify connections only. All order-based automations on WooCommerce (thank-you, repeat purchase, segmentation) work perfectly.
Ready? Let's Begin
Connecting your WooCommerce store might be the last technical step you take — the rest is all marketing. Complete the three steps in order, watch your first order land in Keysletter, and start building your first automation.