


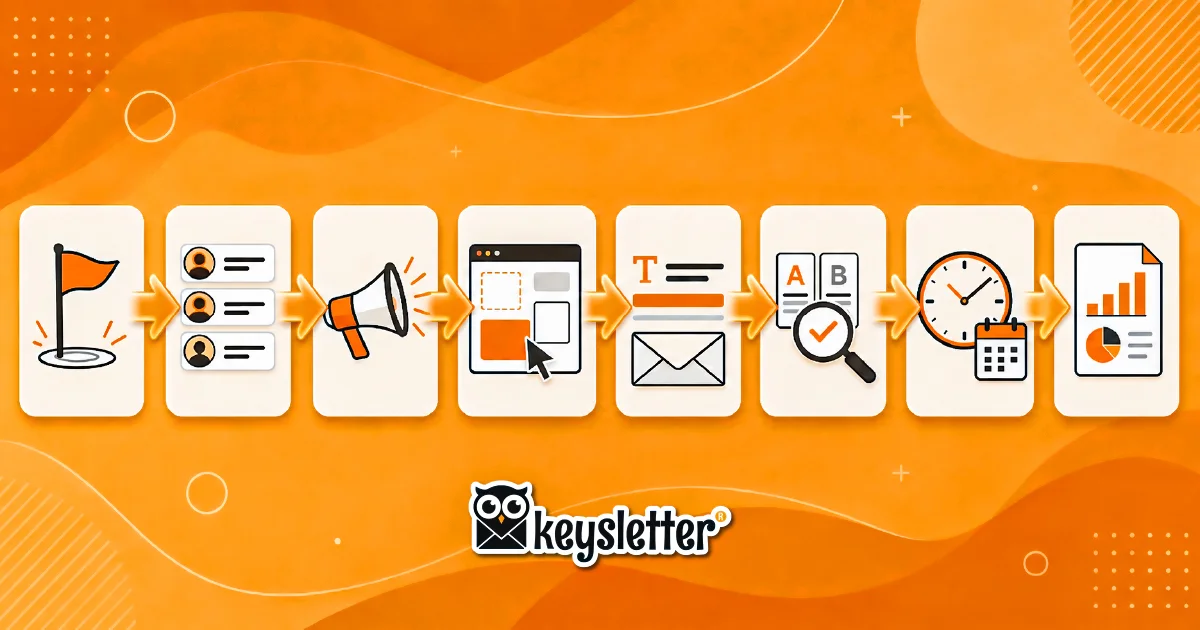
Email marketing can look technical and complicated at first — but sending your first campaign is far simpler than you'd think. In this guide we'll do everything from scratch, step by step: from adding subscribers to your list, to your first send, to reading the results and making your next campaign even better. There's no rush — make sure you understand each step, and the rest follows naturally.
One quick reminder before we start: if you don't have a Keysletter account yet, you can sign up free. No credit card required, and the free plan is more than enough to try your first campaign comfortably.
1. Build Your Subscriber List
Every email campaign is sent to a list — the group of people you'll deliver your message to. So your first job is to create that list.
Go to My Lists in the dashboard and create a new list. Give it a meaningful name — "Newsletter Subscribers" or "New Customers", for example — so you can easily remember later what you sent to whom.
You can add subscribers to your list in three ways:
- One by one, manually: the most practical option if you're starting with just a few people.
- By importing a CSV or Excel file: if you already have a customer list, you can bring in hundreds of people in seconds.
- By placing a signup form on your site: the healthiest and most sustainable option, where visitors join with their own consent. Over time your list grows without any extra effort from you.
Don't worry if your list is small. A list of ten genuinely interested people is worth far more than a thousand indifferent ones — because in email marketing what matters isn't how many people you reach, but whether you reach the right ones.
Remember: only email people who gave you permission. Sending to purchased or non-consented lists carries serious legal risk and quickly lands your emails in the spam folder. A permission-based list means both legal safety and a higher return.
2. Create Your Campaign and Pick a Template
Once your list is ready, move on to Campaigns → New Campaign. You'll land on the design screen, where you decide how your email will look.
This is exactly where things get easier: the ready-made template gallery. Instead of staring at a blank page wondering where to begin, you can choose the template that fits you best from dozens of professional designs and build on it.
Once you open a template you like, use the drag-and-drop editor to:
- Add your logo and match your colors to your brand.
- Write your copy — keep it short, warm and focused on a single goal.
- Add images, buttons and new sections to make the email entirely your own.
Pay special attention to one thing: the mobile view. The vast majority of your subscribers will open your email on their phone, so make sure headlines, images and buttons are easy to read and tap on small screens too.
If you're just starting out, don't try to design from scratch. Pick the template closest to what you need and change only the text and images. You'll move much faster and get a professional result on the very first try.
3. Set Your Subject Line and Sender
The first — and often only — thing subscribers use to decide whether to open your email is the subject line. No matter how valuable your content is, if the subject line doesn't spark curiosity, the email stays unopened.
A good subject line is short (ideally under 50 characters), clear, and makes the reader feel "I need to see this". Keep these in mind:
- Stay away from excessive capitals and spammy phrases like "FREE!!!" or "URGENT"; they hurt trust and trigger spam filters.
- Personalize where you can: a subscriber's name or a phrase that reflects their interest visibly lifts your open rate.
- Don't leave the preview text (the short line shown next to the subject) empty; it's a second chance to support your subject line.
Pay attention to the sender name too. Use a name your subscribers recognize — your company name, or "Name @ Company". A familiar sender quietly raises your open rate.
4. Preview and Send Yourself a Test
Before you hit send, always stop and check once. A tiny typo or a broken link can undo all your work.
First, use the preview to see how your email looks on both desktop and mobile. Then send a test email to your own address and see how it sits in a real inbox. While you're at it, check:
- Do all the links go to the right pages?
- Do the images load completely?
- Is there a typo you missed?
- Does the email land in the inbox rather than the spam folder?
Those few minutes of checking save you from a costly mistake and later regret.
5. Send or Schedule
If everything looks right, you're on the final step. You have two choices: send the campaign now, or schedule it for when your audience is most active.
Timing is a small but powerful detail. As a general starting point, Tuesday, Wednesday and Thursday mornings work well for most audiences. But your own data will reveal the best time as you go — so treat this as a good guess, not a hard rule.
Watch your sending frequency too: sending too often can tire your subscribers, while sending too rarely can make them forget you. For most brands, once a week or once every two weeks is a balanced start.
6. Measure and Improve
Sending isn't the end; in fact, the most instructive part starts here. After your campaign goes out, look at three key numbers in your dashboard:
- Open rate shows how well your subject line worked. It varies by industry, but a 20–25% range is a healthy start for most audiences.
- Click rate reveals whether your content and buttons truly caught interest.
- Unsubscribe rate tells you whether you're sending too often or how well your content matches your audience.
Note these numbers and try small changes in your next campaign: a different subject line, a clearer button, shorter copy. You can even run a simple A/B test comparing two subject lines over time. What matters is learning something from every campaign and making the next one a little better.
Don't chase perfection on your first campaign. Send to a small list, watch the result, learn something, and do a little better next time. Email marketing is a marathon; the real difference lies not in a single campaign, but in the small improvements that add up over time.
Ready? Let's Begin
As you can see, all you need for your first campaign is an account and a few real subscribers. The rest is just the six steps in this guide. And the best part: after your first send, everything will feel far more familiar — you won't even need this guide for your second campaign.